Starter guide for deploying a react app
In this guide, you’ll learn the process of publishing a static site using react on Wasmer Edge.
Prerequisites
The project requires the following tools to be installed on your system:
Deploying a Static Site
Install Wasmer
Click here for instructions on how to install Wasmer if you haven’t done it already!
Log in into Wasmer
Create a new account in Wasmer . Then, log in into the Wasmer CLI and follow the provided steps to provide the CLI access to your Wasmer account.
wasmer loginInitialize the React Starter template
If you have already your react project with you, you can skip to the next step.
Clone the starter template from GitHub and install the dependencies:
git clone https://github.com/wasmerio/edge-react-starter.git
cd edge-react-starter
pnpm install
By now, you should have a react project installed and ready to go. Let’s build it, in preparation for future steps:
pnpm run buildSetup a current react project for Wasmer Edge
This step is for those who already have a react project with them. If you are starting from scratch, you can follow the step above to get a boilerplate react project with vite.
Run the commands below to initialize files for Wasmer Edge:
wasmer app create --template static-websiteThe above command will give you the following prompt:
✔ Who should own this app? · <your-username>
✔ What should be the name of the app? · react-edge-tutorial
✔ What would you like to deploy? · Start with a template
✔ Select a language (6 available) · N/A
✔ Selected template · Static website
✔ Unpacked template
✔ Do you want to deploy the app now? · no
The wasmer app create --template static-website command will prompt you for the following:
- App owner: This is the owner of the app. It can be your username or an organization.
- App name: This is the name of your app. It must be unique across all apps on your namespace.
- Deploy: Answer
nofor now; we still need to point the server at the React build output.
The above command will do the following:
- Unpack the template files (
Staticfile,settings/, and a public directory that holds the website data) - Generate an app config (
app.yaml)
By default the template serves the public directory (the root setting in
the Staticfile). You must change this for a react project to build or
dist or any suitable directory other than public because it might contain
your static assets such as favicon. The starter project in step 3.1, is
setup with vite so the build directory is automatically set to dist.
For a react project you can do this by setting the outDir using the -o
flag in the build script in package.json:
"scripts": {
  "build": "tsc && vite build" // 👈🏼 Ensure the build output ends up in the same place as the Staticfile root
}
After this, point the server at your project’s build directory in the Staticfile:
root: dist # 👈🏼 dist or any other directory (keep consistent with package.json)If you also want to run the site locally, add a wasmer.toml manifest that maps your build directory:
[package]
name = "<your-wasmer-username>/<your-app-name>"
version = "0.1.0"
description = "Your cool react project's description"

[dependencies]
"wasmer/static-web-server" = "1"

[fs]
public = "dist" # 👈🏼 dist or any other directory (keep consistent with package.json)
Test Your Site Locally
You can now test your site locally by running the following command:
wasmer run . -- --port 9000This will start a local server using the Static Web Server on http://localhost:9000 and now you can access your site on the web at the URL provided in the output.
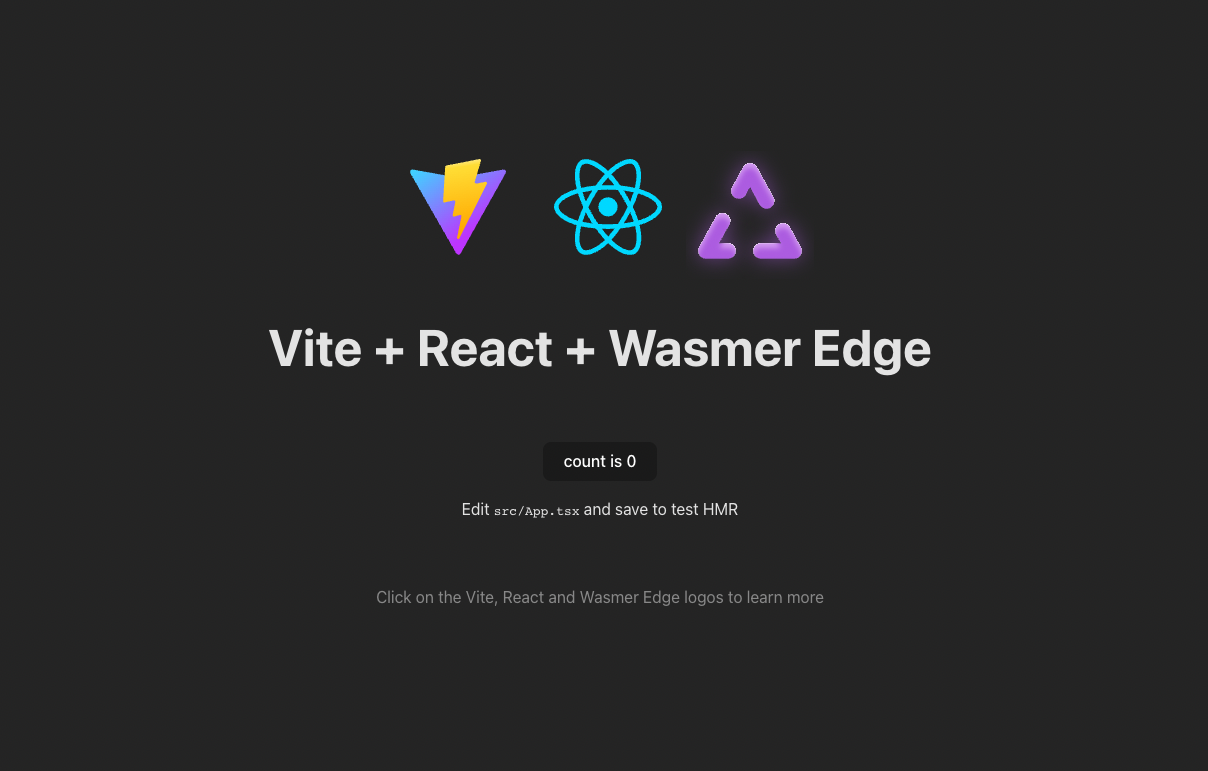
You can also specify a different port by changing the --port flag.
The arguments after
--are passed to the static web server.
You can see all the available options with wasmer run --help or click here to see the full documentation.
To see all the available options for the static web server, run wasmer run . -- --help.
Deploy Your Site
First, we need to build our distribution:
pnpm run buildOnce you have added all the necessary files to the public directory, it’s time to update the site.
Run the following command to deploy:
wasmer deployExpect output similar to this:
Loaded app from: /path/to/your/directory/app.yaml

Publish new version of package '<your-username>/react-edge-tutorial'? yes
Publishing package...
[1/2] ⬆️   Uploading...
[2/2] 📦  Publishing...
Successfully published package `<your-username>/react-edge-tutorial@0.1.1` # Notice the version number
Waiting for package to become available.....
Package '<your-username>/react-edge-tutorial@0.1.1' published successfully!

Deploying app <your-username>-react-edge-tutorial...

 ✅ App <your-username>-react-edge-tutorial was successfully deployed!

> App URL: https://<your-username>-react-edge-tutorial.wasmer.app
> Versioned URL: https://v1piztzfz41v.id.wasmer.app # 🌐 You can access our URL too
> Admin dashboard: https://wasmer.io/apps/<your-username>/<your-username>-react-edge-tutorial

Waiting for the app to become reachable...
(You can safely exit now with CTRL-C)
.
App is now reachable!You must be in the directory holding the app.yaml config file.
wasmer deploy publishes your package and bumps the patch version by default
(--bump, e.g. 0.1.0 → 0.1.1). You can check all the available options
with wasmer deploy --help or click here to see the full
documentation.
Now you can access your site on the web at the URL provided in the output.
To make changes to your site, simply modify the files in the public directory
and run wasmer deploy again to deploy the changes.
Conclusion
Congratulations! You have successfully deployed your react project on wasmer edge .